In the first part of this tutorial we learned how to create a brand new VPC on Amazon AWS. On our environment we had two servers: a Web server which we allow internet connections and a DB server which you choose keep closed.
Well, it is a comon setup. But, sometimes we need our server to access the Internet. I am not telling you that your private server will going to have access from the Internet, otherwise, it wouldn´t be private anymore. But, what if I need this server to access a repository on the Internet do perform updates instead transfering this large amount of data manually. Would be much more practical wouldn´t be?
In this tutorial we are going to see how to allows our server to access the Internet and still keeping hide from the Internet point of view.
Amazaon allows us to create a NAT instance which is an EC2 instance able to perform NAT.
This time I´m going to teach you how to create the instance as this is a different instance and not a common one:

In the Step 2, amanzon gives you the chance to change your Instance type. We are going to keep unchanged because you want this for free.

Step 3 we need to change the Subnet to the Public subnet, in case the private was selected:
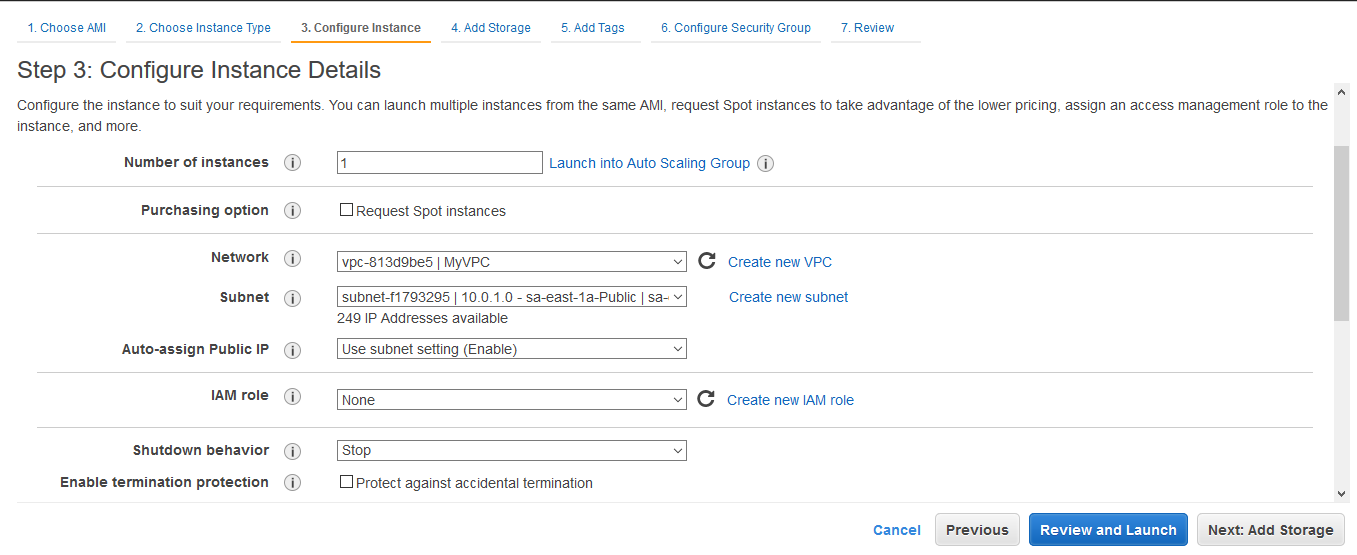
In step 4 you don't change anything, just hit next.
Step 5 you give it a name.
Step 6 is time to setup a security group. It depends on you. You can create a brand new Security Group or you can use one you´ve created before.
Step 7 you Launch the instance. Check you Key and done!
If you have never create an EC2 instance before, this might be a little difficult. Please, take a look on how to create EC2 instance first.
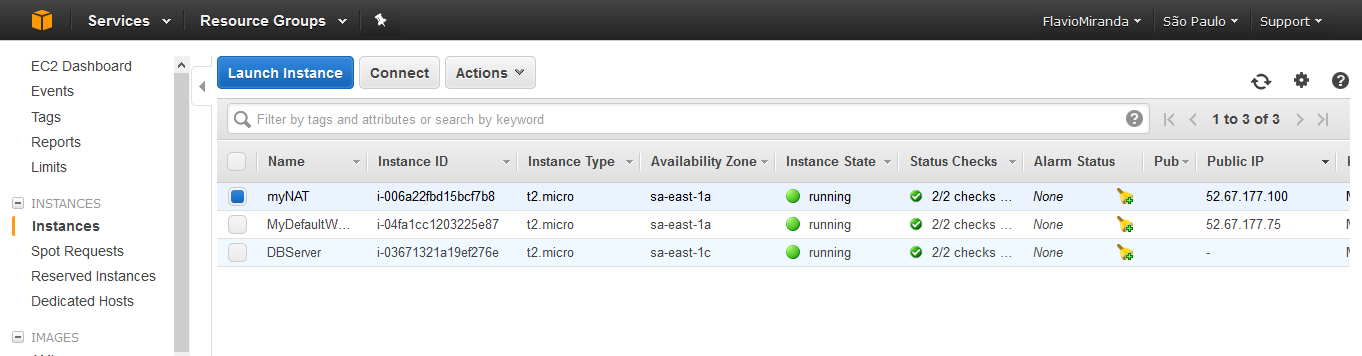
And here we have our NAT instance up and running. One last change we need to do is on Network:

In Change Source/Dest Check, we are going to disable it. Go ahead and do it.
Also , we need to setup a route. This time, we don´t need actually to create a new route table, it enough to modify our default routing table like we are going to do bellow:
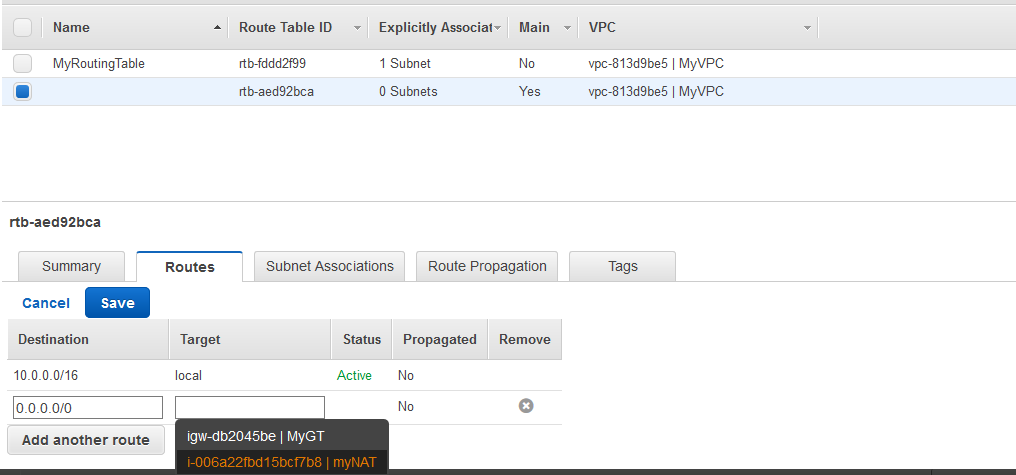
Go to your VPC dashboard, find Route Tables on the left. Select your default route and under Routes add a new entry. The destination is the whole Internet 0.0.0.0/0 and the Target will be our NAT Instance.
That´s it!
Considering you have you public server up and running and you are able to connect to it, you will be able to connect to your private server as well. After all, they are on the same 10.0.0.0/16 network.
The difference from our first Lab from this one is that now our Private server is able to access the Internet.

As we can see from the image above, we are connected through SSH to our private server 10.0.2.251 and we are able to ping the Internet IP address 200.221.2.45. This validate our Lab in terms of NAT Instance.
No comments:
Post a Comment