At that time, although I was pretty interested, it was happening thousands Miles away from me. After this rupture, Cisco has launched the UCS line. Still for long time I heard something here and there about UCS but it was still far away. Until last days.
The company I work for, wisely, decided that we should be able to setup our UCS and this should not be a Data Center team activity. Oh!! that´s nice to hear! and here we go! Setup, from scratch, my first UCS in a Data Center.
So far so good. Data Center was not something new for me and devices by devices I have had seen a lot last times. But, it is not that simple.
When it comes to UCS from scratch you have basically two option. First you can setup a DHCP server on his own machine, plug you machine on the UCS Management port , observe which IP address it gets, put that IP in a web browser and you will might see a interface like that:

Cisco Integrated Management Controller is an interface where you can setup IP address and others few parameters for your box.
Therefore, if you have not a DHCP server available, you can reach the same result by pressing F8 during the boot and it will brings you to the same CIMC, but now, with more simple interface.

The picture shows that the CIMC actually gets an IP address, probably from an DHCP server. But what we want to show here is the possibility in press F8 key. It will get you to the following interface:

Once you gets there, just configure all the parameters you consider necessary and press F10 to save. After that, go to the browser and type in the IP address you just choose for your box. This will take you to the same step we were before.

We can see from the picture above a small icon where we can see in front of it "Launch KVM Server". This magic button allows you go a step further on building your environment. After all, you cannot only bring a box up and it is done!
Well, I can´t for sure affirm that in all cases the behavior from here will be the same and this is not my intention, but, in my case when I pressed that button, my browser downloaded a java file on my local drive. If this is your really first UCS setup, this part will economize you some times.

The File shown on the picture "viewer.jnjp..." is the file download when I pressed KVM button. What the hell I do with it ? It is expected that you rename it and strip out everything after viewer.jnlp.
After that, you will get a little shortcut like this one:

Just execute the Java program and you should finished with a KVM interface console. If you cannot , verify your Java setup.
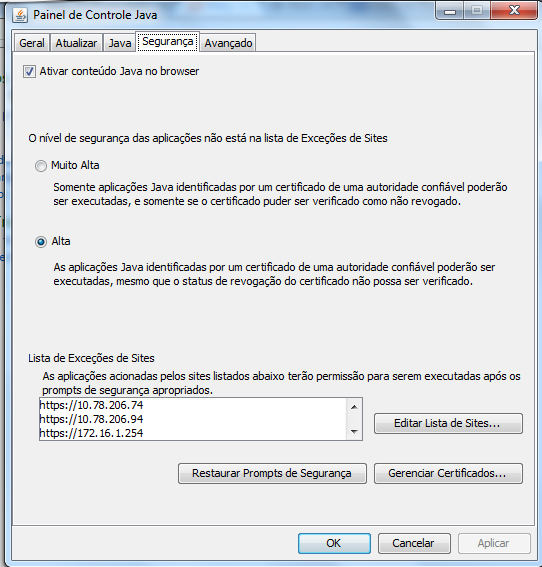
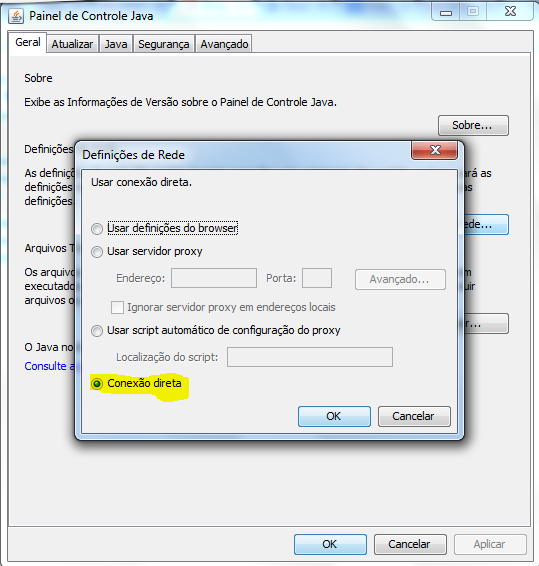
This is for a Portuguese PC but you can find it out in our native language.
After that, you will end up with a KVM window. It is simple and I have not an example right here. You need to find your virtual Media. Reboot the server, change the boot sequence to the virtual Media you just mapped and proceed with the installation. It can be an VMWare ESXi environment, where you can setup any others Virtual machine or it can be an .ISO image for a Operational Systems.
Then we came to an end with this beauty history about setting up a brand new Cisco UCS. Sadly, not everything is flower. I had some interesting problem and I'd like to share in another article.
Cheers.
Thank you for your articles that you have shared with us. Hopefully you can give the article a good benefit to us. DA-100: Analyzing Data with Microsoft Power BI (beta)
ReplyDelete